How to Design a Logo Stamp for Your Business
Learn how to design a logo stamp for your business: choosing the shape, sizing your logo, picking text and colours, and downloading a clean transparent PNG you can use on documents or send for physical stamp production.
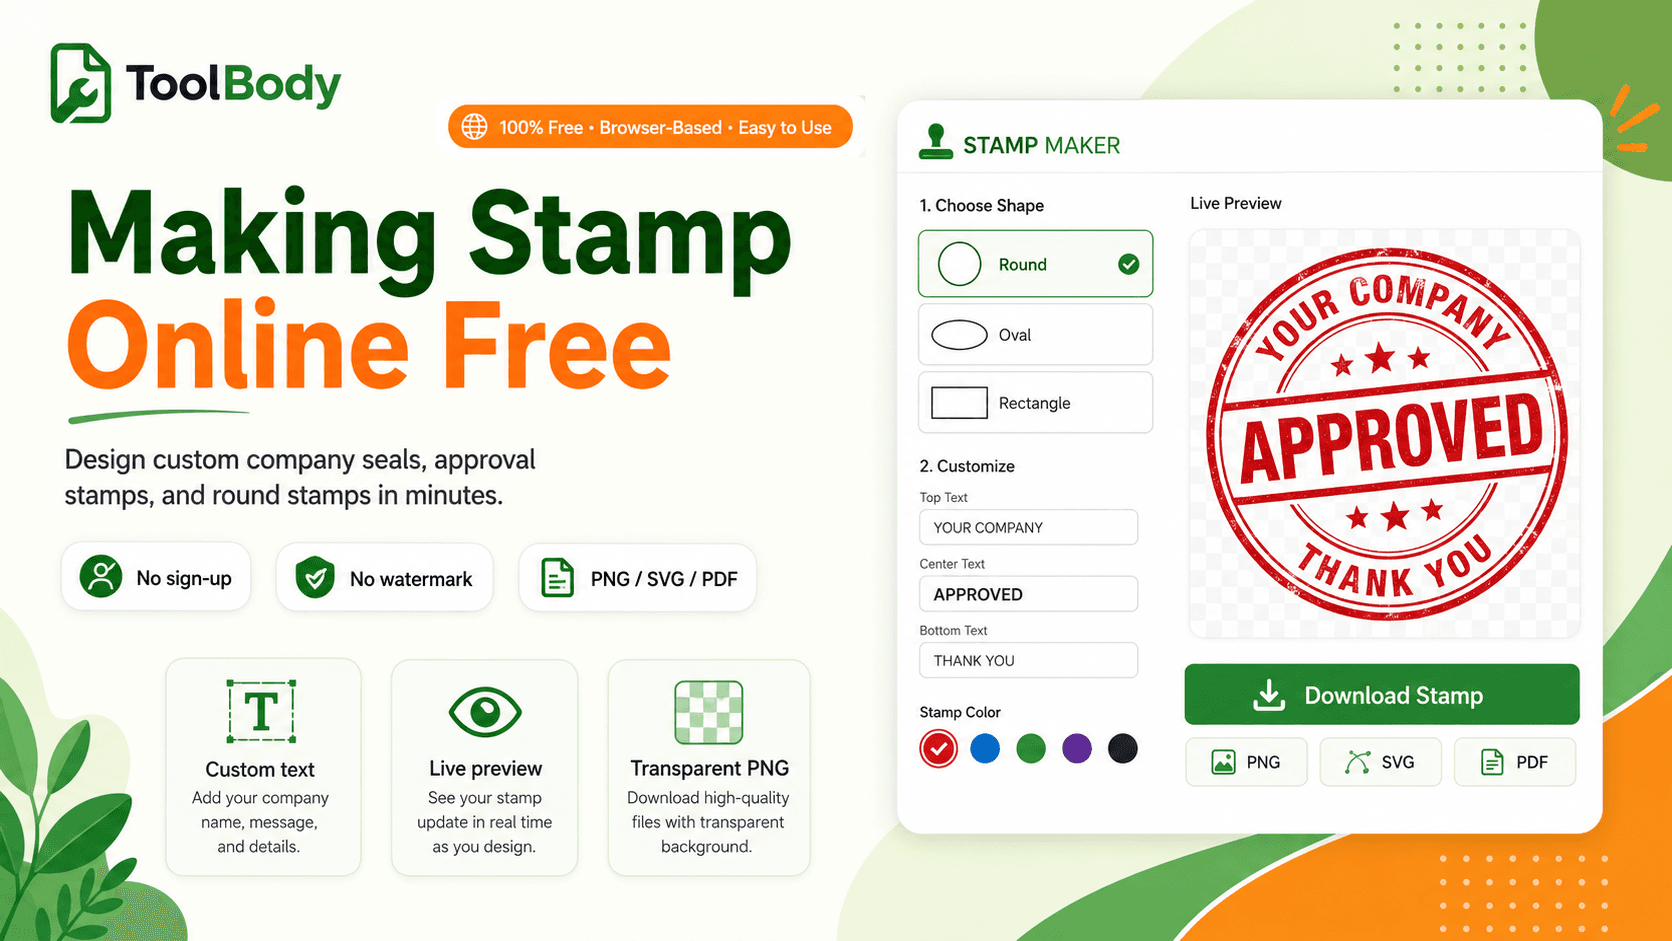
To design a logo stamp for your business: upload your logo as a transparent PNG or SVG, choose a round, oval or rectangular frame, place the logo in the centre, curve your business name around the edge, set the border thickness and ink colour, then download it as a transparent PNG. The whole process takes about ten minutes in a browser and needs no account.
A logo stamp works best when the logo is simple and single-colour. Detailed or multi-colour logos lose their shape at stamp size, so a simplified mark — an icon or monogram rather than a full lockup — reproduces far more cleanly both on screen and if you later send the design to a physical stamp maker.
A logo stamp is the fastest way to make a document look official. It tells the reader which company issued the paper, adds a visual mark of approval, and reinforces your brand every time it appears on an invoice, quotation, contract, or delivery note.
Ordering a custom stamp used to mean sending files back and forth with a printer and waiting days for a proof. Today you can design a logo stamp in your browser in about ten minutes, download it as a transparent image, and use it on digital documents immediately or send it to a stamp supplier for a physical rubber stamp.
This guide walks through the design decisions that separate a clean, professional logo stamp from a cluttered one, and then shows you the step-by-step process to make your own.
What Makes a Good Logo Stamp?
Before you open a tool, it helps to know what you are aiming for. The best logo stamps share a few characteristics.
Simple. A stamp is small and printed in one colour. Fine detail disappears.
Readable. The company name should be legible at 40 mm wide, not just on a screen.
Balanced. The logo, text, and border have clear space between them.
Consistent with your brand. The stamp uses the same logo mark and colour as your other materials.
Versatile. It works on white paper, coloured paper, and as an overlay on a PDF.
If your existing logo is a detailed illustration or has thin gradients, you will usually need to simplify it before it works as a stamp. Many businesses use only the icon or monogram from their logo rather than the full wordmark.
Step 1: Prepare Your Logo
The quality of your stamp depends on the file you start with.
Export the logo as a PNG with a transparent background or as an SVG. A JPG will bring a white rectangle with it, which looks wrong inside a round stamp.
Use a single-colour version of the logo if you have one. If not, convert it to solid black or your brand colour before uploading.
Remove any tagline or small text from the logo itself. You will add text separately in the stamp.
Make sure the file is at least 500 × 500 pixels so it stays sharp when resized.
Step 2: Choose the Stamp Shape
The shape sets the whole character of the stamp.
Round is the classic company seal shape and the most common choice for a logo stamp. The logo sits in the centre with the company name curved around the top and a secondary line curved along the bottom.
Oval gives you a little more width for a horizontal logo or a longer company name while keeping the seal feel.
Square or rectangular suits modern brands and logos with a strong horizontal wordmark. It also fits naturally in the signature block of an invoice or letter.
If you are not sure, start with round. It is the shape people recognise instantly as an official stamp. ToolBody's stamp templates gallery shows company seal, business, and school layouts you can use as a starting point.
Step 3: Upload and Position the Logo
Open the free online stamp maker, pick your shape, and upload the logo into the centre of the stamp.
Resize the logo so it fills the centre area but leaves a clear gap before the inner text ring or border. A logo that touches the border looks cramped.
Keep the logo centred both horizontally and vertically. Small misalignments are very obvious once the stamp is printed.
If your logo is a wide wordmark, consider using just the icon here and putting the company name in the curved text instead.
Step 4: Add Your Business Name and Text
Text is what turns a logo in a circle into a stamp.
Top arc: your company name, in capital letters, spaced evenly around the upper half of the border.
Bottom arc: a secondary line such as your city and country, tagline, registration number, or the year established.
Centre text (optional): words like "APPROVED", "PAID", "ORIGINAL", or "RECEIVED" if the stamp has a specific function rather than being a general company seal.
Use one typeface, ideally a clean sans-serif or a sturdy serif. Decorative fonts lose their shape at stamp size. Keep letter spacing slightly wider than normal so the curved text stays readable.
Step 5: Set the Border and Colour
A border frames the stamp and separates it from whatever it is placed on.
A single thick border is clean and modern.
A double border (thick outer, thin inner) is the traditional seal look and helps contain curved text.
Add small separator symbols such as stars or dots between the top and bottom text if the arcs would otherwise run into each other.
For colour, choose one. Blue is the most common ink for official stamps and photocopies clearly as distinct from black printed text. Red is used for approvals and urgent marks. Black works for a neutral, modern look. If your brand has a strong primary colour, that is usually the right choice for digital use.
Step 6: Download and Use Your Logo Stamp
Once the design looks right, download it. For digital use, choose a transparent PNG so the stamp can be placed on any document without a white box around it.
Common uses:
Stamping invoices and quotations before sending them. If you create these with ToolBody's invoice maker, you can place the stamp directly in the document.
Marking contracts and letters as issued by your company.
Adding a "PAID" or "APPROVED" mark to received documents.
Sending to a stamp manufacturer to produce a physical rubber or self-inking stamp.
For physical production, ask the supplier which file type they prefer. Most accept a high-resolution PNG, and some ask for a vector file.
Logo Stamp Design Mistakes to Avoid
Using a JPG logo. The white background shows inside the stamp.
Too much text. Three lines is the practical maximum on a round stamp.
Multiple colours. Physical stamps print in one ink, and multicoloured digital stamps look like clip art.
Thin lines and tiny details. They vanish at 40 mm.
No clear space. Let the logo, text, and border breathe.
Mismatched branding. Use the same logo version that appears on your website and invoices.
Pairing Your Stamp with a Signature
Many documents need both a company stamp and an authorised signature. Design the stamp first, then create a matching digital signature with the free signature maker. Placing the signature slightly over the edge of the stamp is the traditional way to show the document was signed and sealed together.
Final Thoughts
A good logo stamp is simple, one colour, and instantly recognisable as yours. Start with a clean logo file, pick a shape that suits it, keep the text to a company name and one secondary line, and download a transparent PNG you can reuse on every document. The whole process takes minutes, and the result works for both digital paperwork and physical stamps.
Explore more free online tools on ToolBody to handle the rest of your business documents.
FAQs
A logo stamp is a company stamp that places your business logo at the centre, usually surrounded by the company name and a border. It is used on invoices, contracts, letters, and packaging as a mark of authenticity and branding.
Yes. ToolBody's free online stamp maker lets you upload your logo, add text and a border, and download the stamp as a transparent PNG with no sign-up and no watermark.
A PNG with a transparent background or an SVG works best. Avoid JPG files because they have a white box behind the logo that will show inside the stamp.
Most round company stamps are 38 to 45 mm in diameter. For digital use, download at a high resolution so the stamp stays sharp when placed on an A4 document.
One colour is recommended. Physical stamps print in a single ink, and a single-colour stamp also looks cleaner on documents. Blue, red, and black are the most common choices.
Yes. Download the stamp as a high-resolution PNG or vector file and send it to a stamp manufacturer. They will engrave the rubber or polymer plate from your design.
Yes. Design the stamp first, then create a signature with ToolBody's free signature maker and place both on your document together.