How to Add a Stamp and Signature to Your Invoice
Learn how to add a company stamp and a signature to your invoice online: where to place them, what file formats to use, and how to create both for free and download a signed, stamped invoice PDF.
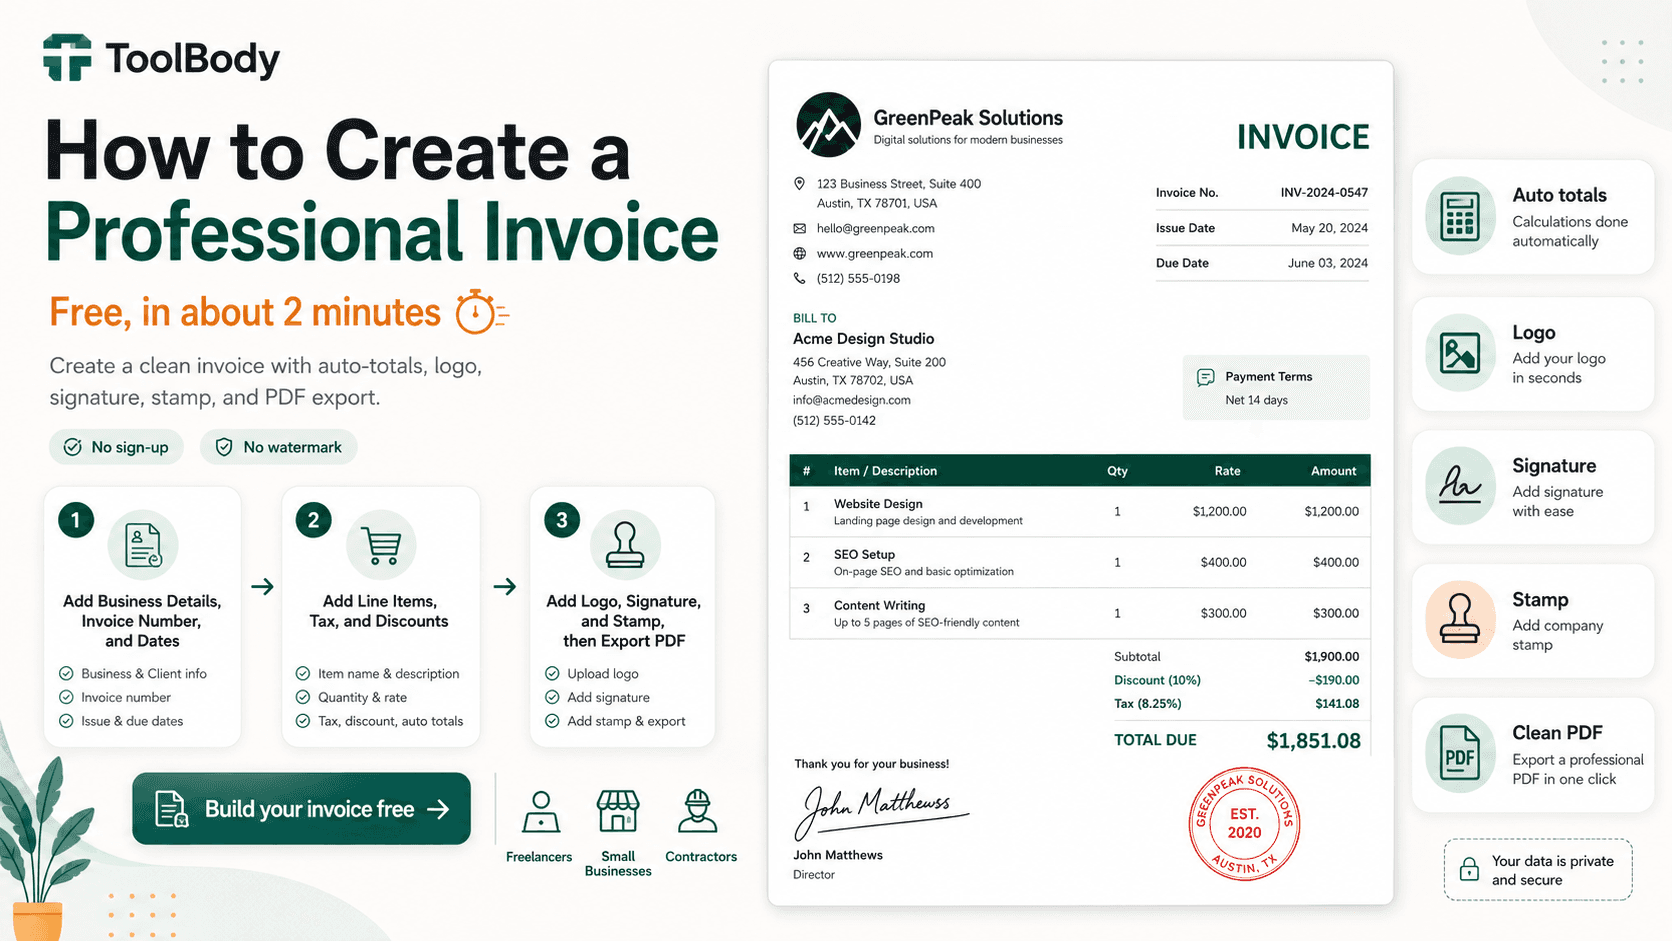
An invoice with a company stamp and an authorised signature looks finished. It tells the client that the document was issued deliberately, by a real business, and approved by someone with authority. In many regions it is also what accountants and banks expect to see before they process payment.
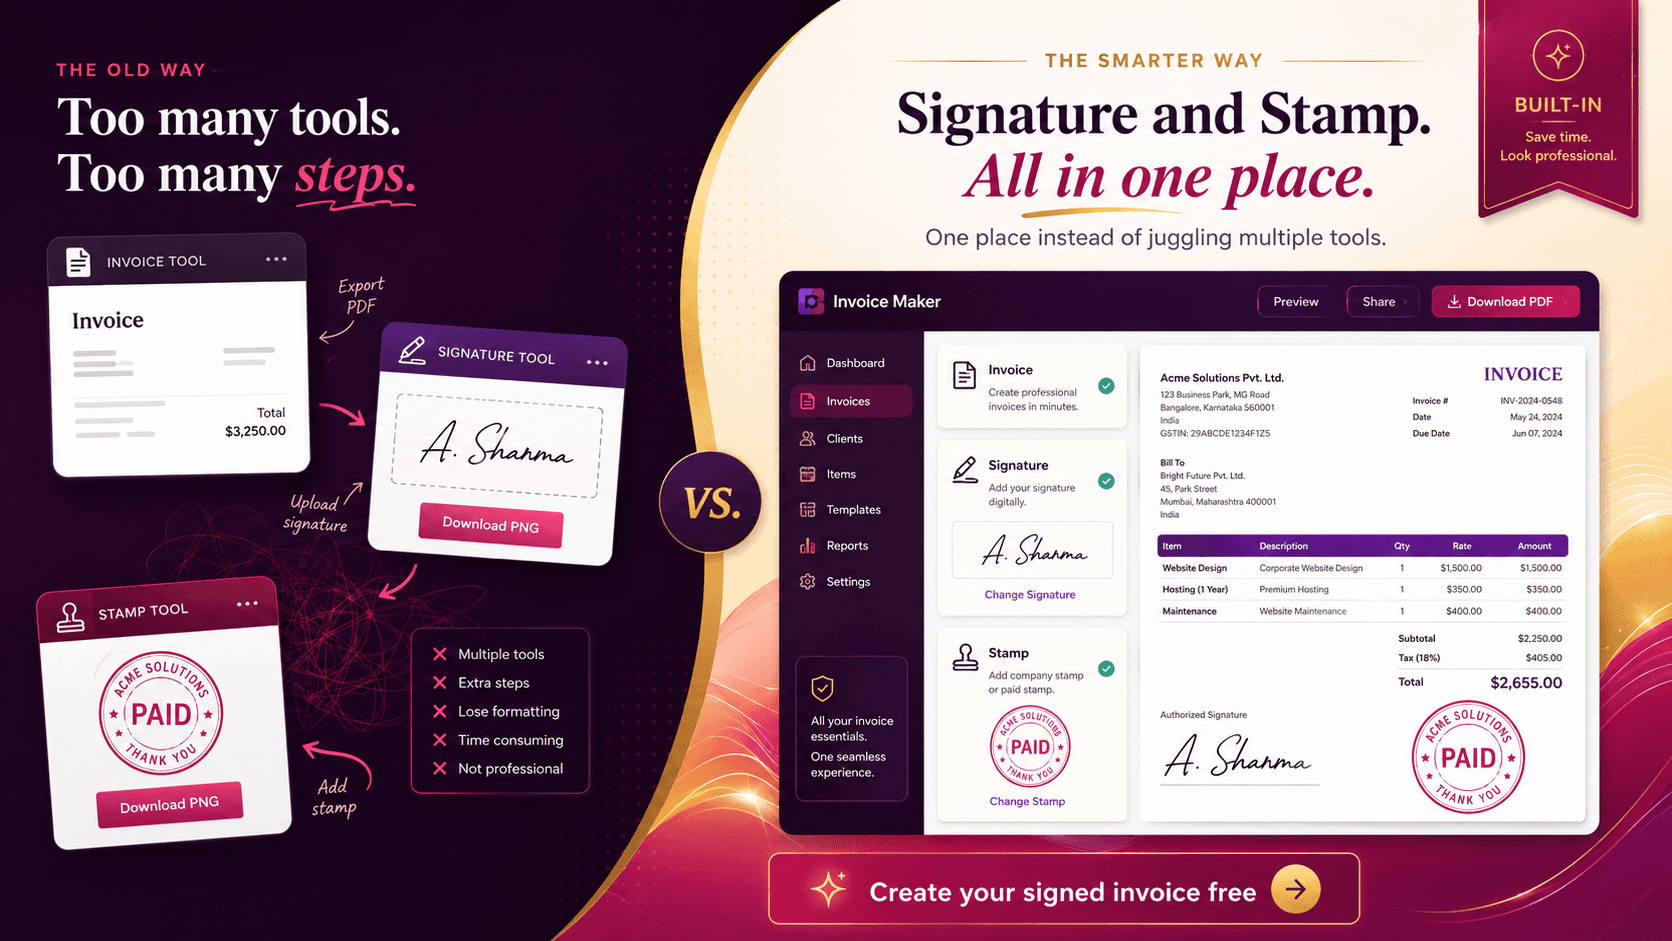
The good news is that you no longer need to print, stamp, sign, and scan every invoice. You can create a digital stamp and a digital signature once, then place them on every invoice you make and download a clean PDF. This guide shows you how, from preparing the files to positioning them correctly.
Why Add a Stamp and Signature to an Invoice?
Authenticity. A stamp and signature show the invoice came from your business and was approved.
Client expectations. Many companies will not process an unsigned or unstamped invoice, particularly in the UAE, Saudi Arabia, India, and Pakistan.
Professional appearance. A signed, stamped invoice looks more credible than plain printed text.
Fewer disputes. A signature confirms the amounts were reviewed before sending.
What You Need Before You Start
You need three things:
A company stamp image – ideally a transparent PNG with your logo, business name, and a border.
A signature image – a transparent PNG of your handwritten or typed signature.
Your invoice – completed with all details and line items.
If you do not have the first two yet, the next two sections show how to make them in a few minutes.
Step 1: Create Your Company Stamp
Open the free online stamp maker and choose a shape. Round is the classic company seal, oval and rectangular work well for modern brands.
Upload your logo as a transparent PNG or SVG and centre it.
Add your company name as curved text around the top and a secondary line (city, registration number, or "Authorised") along the bottom.
Choose a single border or a double border and pick one ink colour. Blue is the most common for invoices because it clearly stands out from black text.
Download the stamp as a transparent PNG.
If you want a starting point, the ready-made company seal templates can be customised with your own details.
Step 2: Create Your Signature
Open the free signature maker and either draw your signature with a mouse, trackpad, or finger on a touchscreen, or type your name and pick a signature-style font.
Use a dark colour, black or dark blue, so it reads clearly on white paper.
Keep the stroke thick enough that it does not disappear when the invoice is printed.
Download it as a transparent PNG so it sits on the invoice without a white box.
Save both files somewhere you can find them again. You will reuse them on every invoice.
Step 3: Prepare Your Invoice
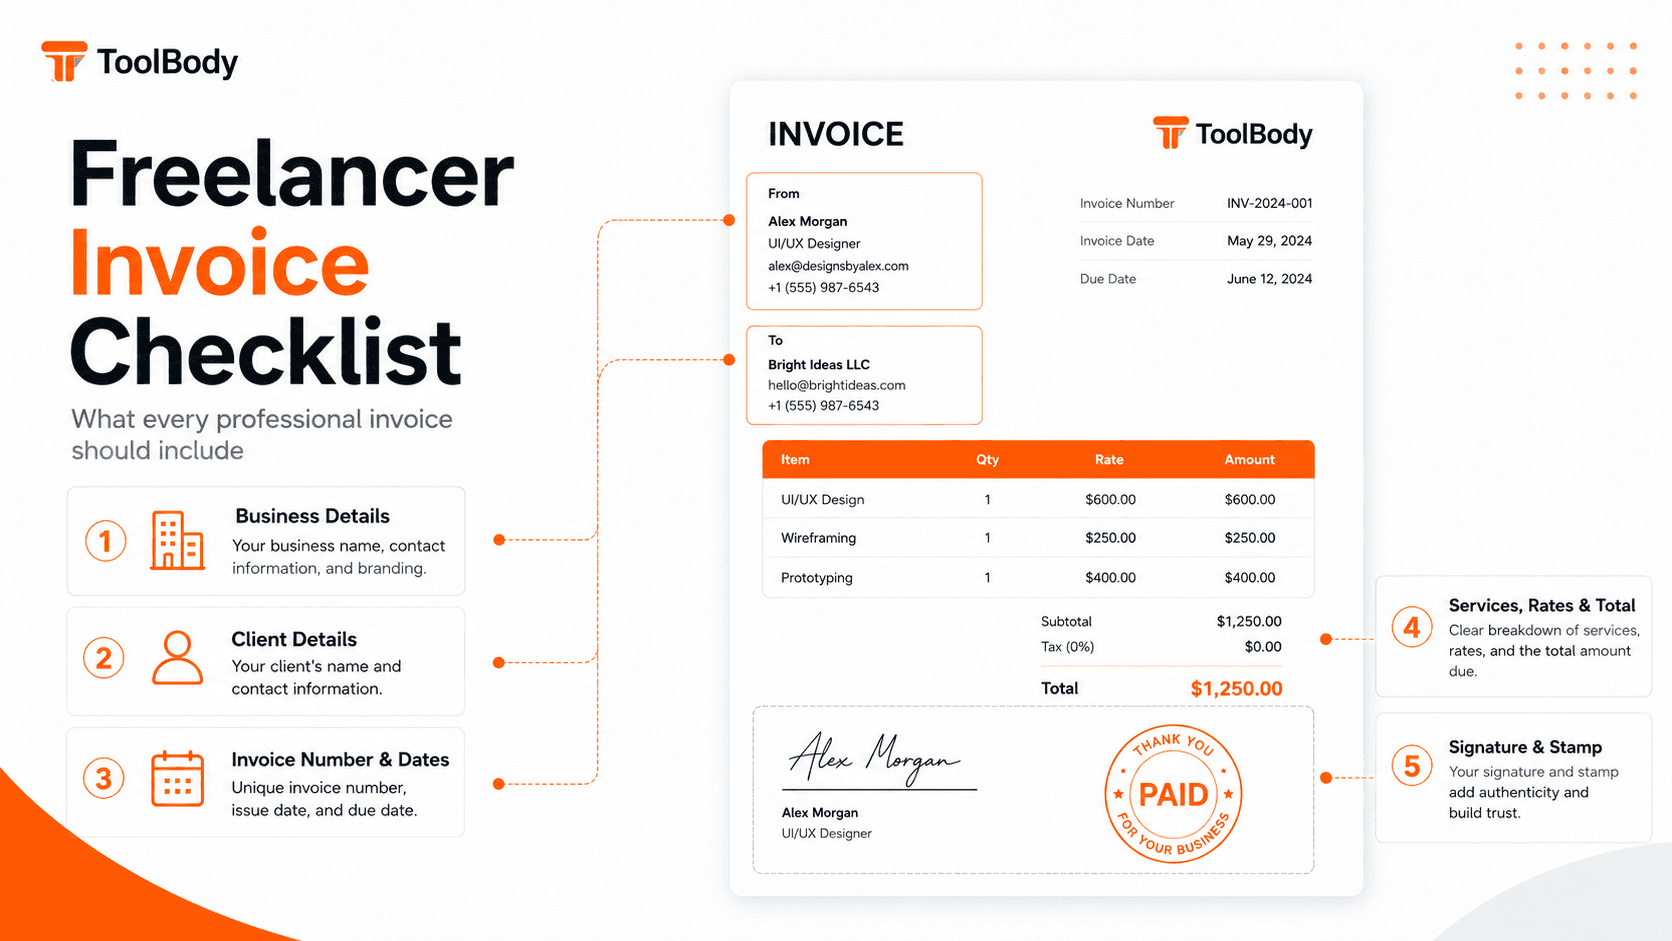
Create or open your invoice in the free invoice maker. Complete everything before adding the stamp and signature:
Business and client details
Invoice number and date
Line items with quantity, rate, and totals
Tax, discount, and grand total
Payment terms and bank details
Adding the stamp and signature last means you will not have to move them if the layout shifts when you add more line items.
Step 4: Place the Stamp and Signature
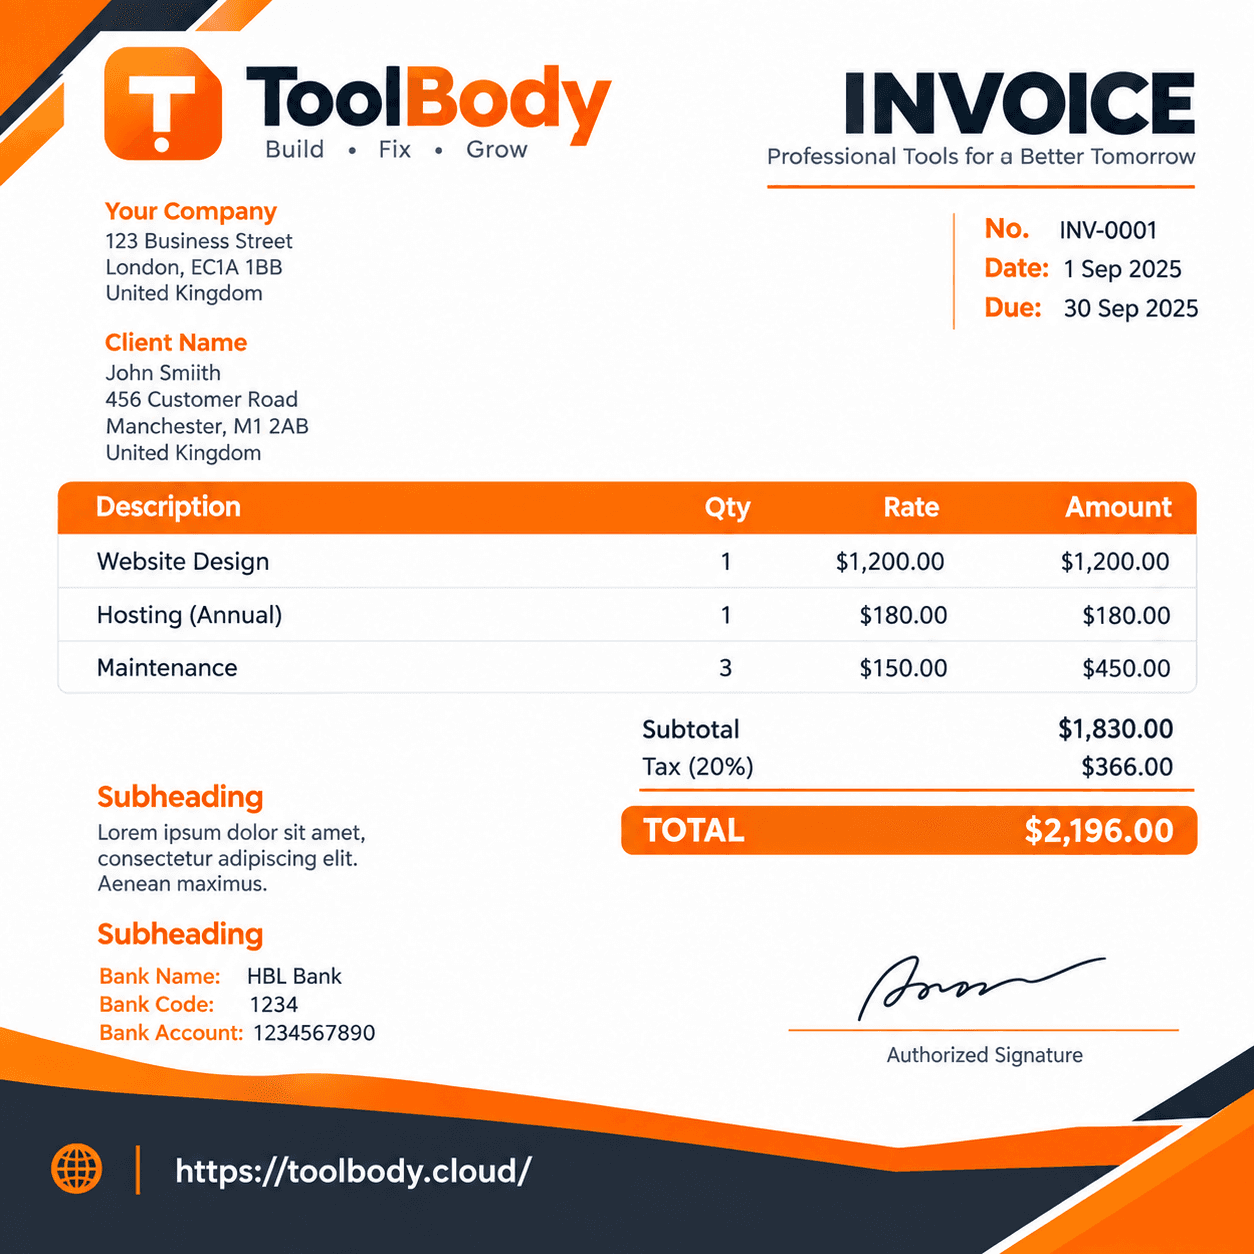
The convention is to place both in the bottom right of the invoice, below the totals, in the "Authorised Signatory" area. This is where clients and accountants look for them.
Insert the stamp image first and resize it to roughly 30 to 40 mm wide on an A4 page. Large enough to read, small enough not to cover any figures.
Insert the signature image and place it so it slightly overlaps the lower edge of the stamp. This is the traditional "signed and sealed" look and shows the two were added together.
Add the signatory's name and designation in text below or beside the signature, for example "Ahmed Khan, Director".
Make sure neither image covers the total amount, bank details, or any line item.
If your invoice includes a "Received by" or "Customer acceptance" block on the left, leave that empty for the client.
Step 5: Download the Signed Invoice PDF
Once the stamp and signature are in place, review the whole invoice one more time, then download it as a PDF. A PDF locks the position of the images, so the stamp and signature will not move or resize when the client opens the file on a different device.
Send the PDF by email or upload it to the client's portal. Keep a copy for your records.
Tips for a Clean, Professional Result
Always use transparent PNGs. JPGs bring a white rectangle with them.
Keep both images the same on every invoice. Consistency builds trust and makes your invoices instantly recognisable.
Use one ink colour for the stamp. Multicoloured stamps look like clip art.
Do not stretch the images. Resize proportionally so the stamp stays round and the signature keeps its shape.
Do not over-stamp. One stamp and one signature per invoice is enough.
Update the stamp if your details change. A stamp with an old address or phone number undermines the point of having one.
Common Mistakes to Avoid
Placing the stamp over the total amount or bank details.
Using a low-resolution signature that looks blurry when printed.
Forgetting the signatory's name and title.
Adding the stamp before the invoice is finished, then having to move it.
Sending an editable file instead of a PDF.
Final Thoughts
Adding a stamp and signature to your invoice takes a couple of minutes once you have the two image files ready, and it makes every invoice you send look official and approved. Create the stamp and signature once, keep them as transparent PNGs, place them in the authorised signatory area, and always send the finished invoice as a PDF.
Explore more free online tools on ToolBody to handle the rest of your business documents.
FAQs
In most countries an invoice is valid without a stamp or signature, but many clients, banks, and government offices expect them, especially in the Middle East and South Asia. Adding both makes the invoice look official and reduces questions about authenticity.
Yes. ToolBody's free invoice maker, stamp maker, and signature maker all run in the browser with no sign-up and no watermark. You can create the stamp and signature, place them on the invoice, and download the PDF at no cost.
Use a PNG with a transparent background. A JPG will place a white box over the invoice content behind it.
The standard position is the bottom right of the invoice, in or near the authorised signatory block, below the totals. The signature is usually placed slightly overlapping the stamp.
An image of a signature is generally accepted as a simple electronic signature for commercial invoices in most jurisdictions. For contracts or regulated documents, check whether a certified digital signature is required.
Yes. Save both PNG files once and add them to each new invoice. Keeping the same files ensures every invoice looks consistent.
A single colour, usually blue, is best. It stands out from the black printed text and makes the stamped copy easy to tell apart from an unstamped one.