How to Make a Transparent Signature PNG (No White Box on Your Documents)
Make a clean transparent signature PNG in 60 seconds - draw or type it free, no scanner, no Photoshop, no white box around it. Drops cleanly onto any document.
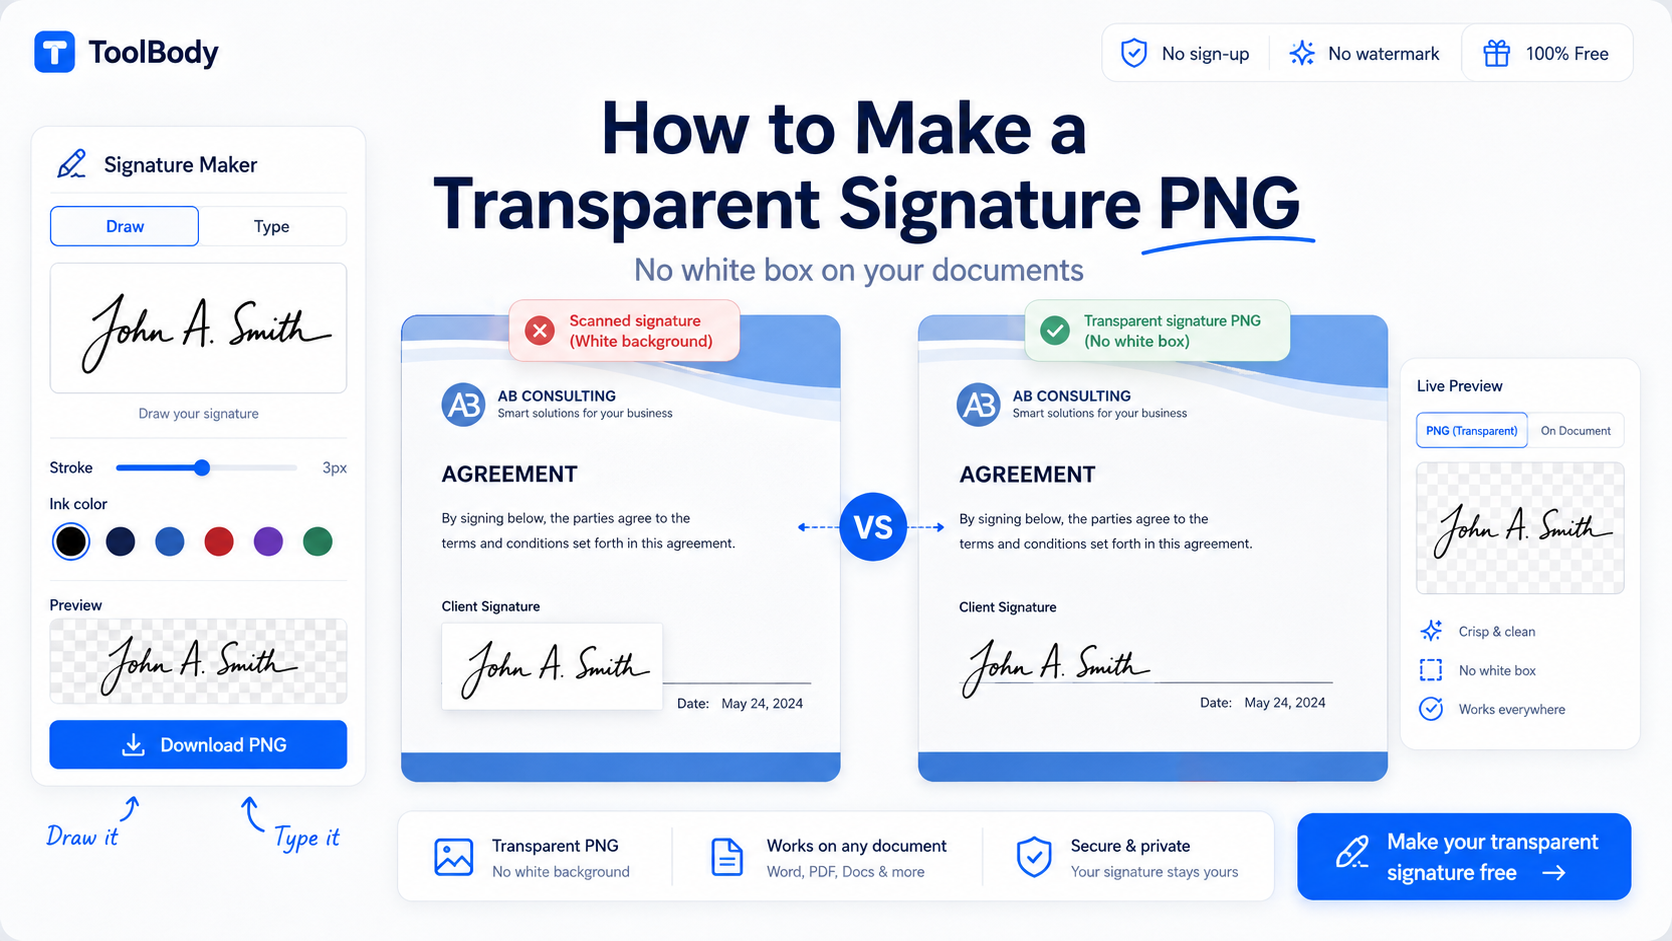
You've been there. You scan your paper signature, drop it onto an invoice, and there it is — an ugly white rectangle around your signature that screams "this was pasted in from somewhere else." On a plain white document it's barely noticeable. On a colored letterhead, a branded invoice, or a designed contract, it ruins the whole look.
The fix is a transparent signature PNG — a signature file with no background, only the signature strokes themselves. It drops cleanly onto any document, in any color, on any background, with no rectangle around it. And creating one takes 60 seconds with a free online signature maker, no scanner, no Photoshop, no background-removal software.
This guide walks through exactly how to make a transparent signature PNG, why scanned signatures get the white box problem in the first place, and how to use your finished signature on documents.
The short answer
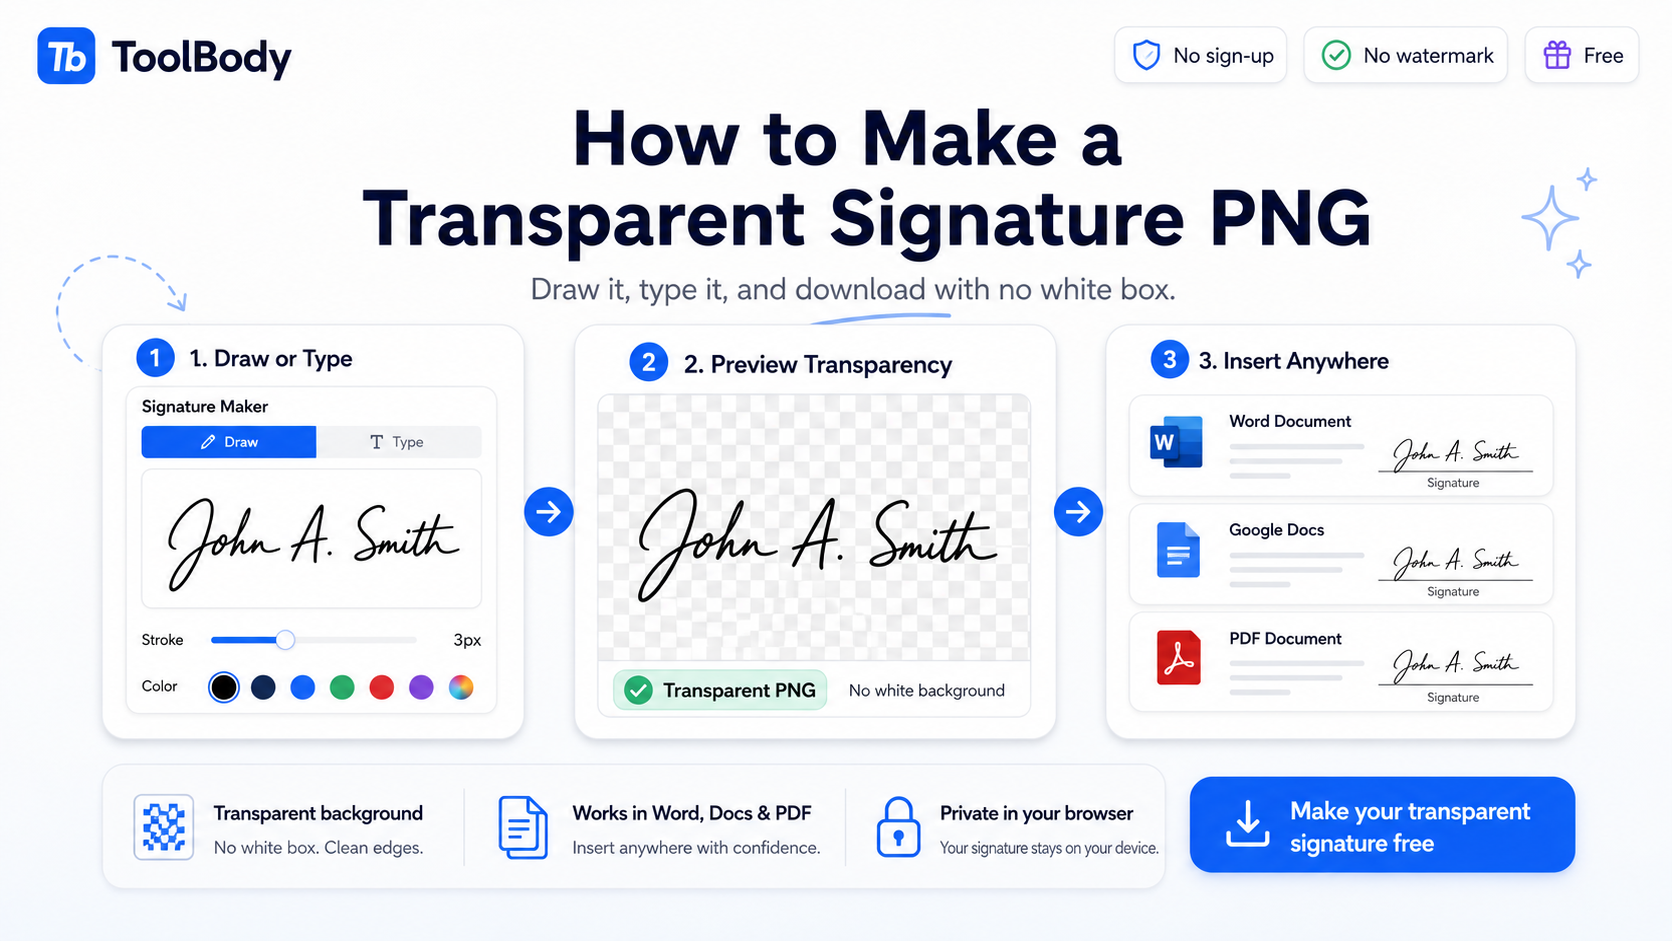
To make a transparent signature PNG in the fastest free way:
Open the free signature maker.
Draw your signature with a mouse or touchscreen, or type your name in a handwriting-style font.
Pick a stroke color (blue or black).
Click download and select PNG format.
That's it. The downloaded file has no background — just your signature strokes on a transparent canvas. Drops cleanly onto any document. No white box, no rectangle, nothing to clean up. Total time: under 60 seconds.
The rest of this guide explains why the white box problem happens (so you can avoid it forever), how to draw vs. type your signature for the cleanest result, and how to insert your transparent signature into Word, Google Docs, and PDFs.
Why scanned signatures get a white box
Understanding why the white box appears makes it easier to avoid it forever.
When you sign a piece of paper and scan it, the scanner produces an image of the entire scanned area — your signature plus all the white paper around it. The "image" the scanner saves isn't just the ink strokes; it's the whole rectangular region of paper, including all the empty space.
When you save that scan, it's usually a JPG file (the default for most scanners) or a PDF. Both of those formats record the white background as part of the image. There's no built-in concept of "this part is paper" and "this part is ink." It's all just pixels — some happen to be white (the paper), some happen to be dark (the ink).
So when you paste the scanned signature onto another document, you paste the whole rectangle — ink strokes plus the surrounding white. That's the white box.
The same problem happens when you:
Take a phone photo of your signed paper and save as JPG
Screenshot a signature and save as JPG
Use any image format that doesn't support transparency
Transparent PNG solves this by definition. A PNG file with transparency has pixels that are explicitly marked as "see-through." When the toolbody.cloud/free-signature-maker-online">signature maker creates your signature on a transparent canvas, only the actual signature strokes are recorded as visible pixels. Everywhere else is transparent — no white background, no rectangle.
That's why creating fresh in a signature maker beats scanning and trying to fix it later. The transparency is built into the creation process, not patched on afterward.
What "transparent PNG" actually means
A few quick technical notes for the curious — skip if you just want to make the signature.
PNG (Portable Network Graphics) is an image file format that supports an "alpha channel" — extra information in the file that records, pixel by pixel, how opaque or transparent each pixel is. A fully transparent pixel is invisible; a fully opaque pixel is solid; partially transparent pixels are translucent.
When you create a signature on a transparent background:
The pixels making up your signature strokes are saved as opaque
Every other pixel (the "background") is saved as fully transparent
The result is a file that, when placed on any document, shows only the signature
JPG files don't have an alpha channel, which is why they can't store transparency. Any background in a JPG is "baked in" as solid color (usually white).
The takeaway: if you want a signature that works on any background, you need a PNG (or SVG, which also supports transparency). JPGs will always show a background.
Method 1 — Draw your signature
The most natural-looking option. You sign just as you would on paper, but on a digital canvas instead of physical paper.
Step 1 — Open the signature maker
Open the free signature maker in your browser. The drawing canvas is the main feature on the page.
Step 2 — Choose your input device
Touchscreen (phone, tablet, touch-enabled laptop) — best result. Finger or stylus on touchscreen mimics signing on paper. The signature looks natural.
Mouse on desktop — works but mouse signatures often look unfamiliar (most people don't sign documents with a mouse in daily life). The signature is recognizable but may look stiffer than your usual pen signature.
Trackpad — possible but trickier than mouse. Mouse is usually easier for trackpad users.
If you have a phone or tablet handy, use it for the drawing step. The few extra seconds of opening the signature maker on your phone produce a noticeably more natural signature.
Step 3 — Draw your signature
Draw your signature on the canvas the way you'd sign on paper. A few tips:
Draw at a comfortable size. Most people sign in a "natural" size on paper — the signature maker canvas is large enough to accommodate this. Don't cramp your signature into a tiny area.
Use steady strokes. Quick confident strokes look more natural than slow careful ones. Sign as you would normally, don't overthink it.
Don't lift your pen unnecessarily. Signatures that connect smoothly read as more authentic. If your real signature has natural lifts (most do), preserve them; don't force connections that aren't there.
Retry as needed. Most signature makers have an "undo" or "clear" button. If the first attempt doesn't look right, clear and try again. You don't get judged on retries.
Step 4 — Adjust stroke thickness and color
After drawing, fine-tune the appearance:
Stroke thickness: medium. The default works for most cases. Too thin and the signature disappears at small display sizes; too thick and it looks like marker.
Color: blue or black. Blue (like ballpoint pen ink) feels personal and authentic; black feels formal and works on any document.
Step 5 — Download as transparent PNG
Click download. Pick PNG format. Save the file with a clear name like `signature.png` somewhere you'll find it again. This single file works on every future document.
Method 2 — Type your signature in handwriting-style font
If drawing isn't working for you, or you want a more consistent stylized look, type your signature instead.
Step 1 — Open the signature maker and switch to type mode
Open the signature maker and select the type option (usually a toggle between "Draw" and "Type" modes).
Step 2 — Type your name
Type your full name as you want it to appear. First and last, or full middle name, or just first initial plus last name — whatever convention you use for signing documents.
Step 3 — Pick a handwriting-style font
The signature maker offers a selection of fonts that look like handwriting. Browse through them and pick one that:
Feels personal but readable. Some script fonts are so flowery they're hard to read at signature size. Pick one where the letters are clearly recognizable.
Matches your style. If you're a serious-business kind of person, pick a more reserved font. If you have a playful brand, a more flowing font works.
Looks consistent across letters. Some fonts have inconsistent stroke weights between letters that look awkward at signature size.
Step 4 — Set color and download
Pick a color (blue or black). Click download and save as transparent PNG.
When typed signatures are better than drawn
Drawn signatures are more personal; typed signatures are more polished. Pick typed when:
You don't have a touchscreen and your mouse signatures look bad
You want a consistent professional look across all your business documents
Your real handwritten signature is messy or hard to read
You prefer a "designed" feel for your business identity
For most business uses, either method produces a perfectly acceptable signature. Personal preference matters most.
How to insert your transparent signature into documents
Once you have the transparent PNG saved, here's how to use it. Quick reference for the three most common places people add signatures.
In Microsoft Word
Insert → Pictures → This Device → select your signature PNG
Right-click the inserted image → Wrap Text → In Front of Text
Drag to position above the signature line
In Google Docs
Insert → Image → Upload from computer → select your signature PNG
Click the image, choose "In front of text" from wrap options
Drag to position
In a PDF
Open the PDF in any free editor (Adobe Acrobat Reader, PDF24, Foxit, Preview on Mac)
Use the Add Image or Insert Image feature
Select your signature PNG, place on the page, resize as needed
Save the PDF — the signature is now embedded
The full step-by-step for stamping PDFs (same workflow applies to signatures) is in our guide on how to add a stamp to a PDF. Replace "stamp" with "signature" in the steps and the process is identical.
For invoices specifically — where you typically want both a stamp and a signature — see our guide on how to add a stamp and signature to your invoice. The invoice maker has dedicated upload fields for both elements.
Tips for a clean result
A few specific things that separate a good transparent signature from a great one.
Size your canvas appropriately
The signature maker has a default canvas size that works for most uses. If you're going to use the signature at very large sizes (printed certificates, large display documents), check that the canvas resolution is high enough — drawing on a tiny canvas and scaling up causes pixelation. The default canvas works fine for invoices, letters, and standard document use.
Use a stylus on touchscreen if possible
A stylus produces more controlled strokes than a finger. If you have an Apple Pencil, Samsung S Pen, or any third-party stylus, use it for signing. Even cheap $10 styluses make a noticeable difference in stroke quality compared to fingertip drawing.
Don't decorate around the signature
A signature is a signature, not a graphic design project. Adding underlines, decorative flourishes, surrounding text, or borders makes it look fake. A clean signature stroke is what reads as authentic.
Match the signature color to the document context
Blue for personal correspondence and warm business communication
Black for formal letters, legal documents, professional contracts
Brand color (occasionally) for marketing materials where the signature is part of the brand
Save the signature in your cloud drive
Once you've created a signature you like, save it in Google Drive, Dropbox, iCloud, OneDrive, or wherever your cloud storage lives. You'll want to access it from multiple devices over time. Keeping it cloud-stored beats trying to find it on a specific computer six months later.
Make a backup
If your only copy of the signature is on one device and that device dies, you'll need to create a fresh signature — which won't look identical to the original. Backup matters for visual consistency over time.
Use one signature design consistently
Switching between different signature designs across documents looks unprofessional. Pick one design (drawn or typed, particular color, particular stroke style) and use it for all business documents.
Image signature vs legally-binding e-signature
A clear distinction worth understanding.
What an image signature is
A transparent PNG of your signature is an image. It shows that someone — presumably you — placed a signature mark on the document. For everyday business contexts, this is widely accepted: invoices, internal company documents, informal contracts between known commercial parties, letters, certificates, basic agreement forms.
What an image signature is not
An image signature is not cryptographically authenticated. It doesn't carry verifiable proof of who signed, when, or whether the document was modified after signing. Anyone with the original document can:
Remove or replace the image signature
Modify other content while leaving the signature in place
Forge a similar-looking signature using the same techniques
For most everyday business documents, this isn't a problem — the parties involved trust each other and the relationship is built on factors beyond the signature itself.
When you need a legally-binding e-signature instead
For documents where the signature itself is the value — where you need legal proof of who signed and that the document hasn't been altered — use a regulated e-signature platform. Examples include DocuSign, Adobe Sign, HelloSign, and others. These platforms:
Cryptographically sign the document so any modification breaks the signature
Maintain audit trails recording when and how the signature was applied
Comply with electronic signature laws (eIDAS in EU/UK, ESIGN Act in US, equivalent regulations elsewhere)
Verify signer identity through email confirmation or other authentication
Use regulated e-signature platforms for:
Real estate contracts
Employment agreements (in regulated industries)
Healthcare consent forms
Court filings
Bank account opening documents
Insurance contracts
Any document where one party could later dispute "that wasn't my signature"
Use a transparent image signature for everything else — which is most everyday business documents.
Why the image signature still has value
Most business documents in the world are signed with image signatures, not regulated e-signatures. They:
Cost nothing (unlike e-signature platforms that charge per envelope or per user)
Take 60 seconds to apply (unlike e-signature workflows that require sending and waiting)
Don't require the recipient to use any specific platform
Work for one-off documents where setting up a platform account isn't worth it
Are widely accepted in professional business contexts
For invoices, internal documents, informal agreements, letters, and standard correspondence — image signatures are the practical choice. Save the regulated e-signature platforms for documents that genuinely need the legal authentication.
Common mistakes that produce a bad transparent signature
Mistake 1 — Drawing too small A signature drawn at a tiny canvas size becomes pixelated when scaled to document display size. Draw at a comfortable natural size on the signature maker canvas.
Mistake 2 — Using a thin stroke A 1-pixel stroke disappears at most document sizes. Use medium stroke (3-5 pixels equivalent) for clarity.
Mistake 3 — Saving as JPG JPG doesn't support transparency. If you save as JPG, you reintroduce the white box problem. Always save as PNG.
Mistake 4 — Adjusting the signature in image editors and accidentally adding a background If you open the PNG in Microsoft Paint or any editor that doesn't support transparency, saving the file may flatten the transparent background to white. Edit only in tools that support transparency (Photoshop, GIMP, Photopea, or just create fresh in the signature maker).
Mistake 5 — Using one signature on a document, then re-scanning If you print a signed document and re-scan it, you're back to the original problem — the scan reintroduces the white background. Keep the signature workflow fully digital.
Start creating your transparent signature now
The whole workflow runs in your browser, takes about 60 seconds, and costs nothing:
Open the free signature maker
Draw or type your signature
Download as transparent PNG
Save the file for reuse on future documents
For business contexts where you also need stamps and invoices, the online tools on ToolBody work together — the signature you create here uploads directly into the free invoice maker, and a stamp from the free stamp maker can join it on the same invoice.
Related guides
The free signature maker — the tool itself
How to add a stamp and signature to your invoice — using your transparent signature on invoices
How to add a stamp to a PDF — same insertion workflow applies to signatures in PDFs
How ToolBody works — overview of the three-tool workflow for business documents
FAQs
A transparent signature PNG is an image file containing only your signature strokes - with no visible background. When you place this image on a document, only the signature appears; there's no white box or rectangle around it. The 'transparent' part refers to the file's background being see-through, which is something PNG files support but JPG files do not. This is the format you need for signatures that drop cleanly onto invoices, contracts, letterheads, and colored documents.
The white box appears because your signature image isn't transparent - it has a solid white background that gets pasted along with the signature itself. This happens most often with scanned paper signatures (scanners produce JPG or PDF outputs with white backgrounds), photos of signed paper, or signatures saved as JPG instead of PNG. The fix is to use a signature file with a transparent background - the easiest way is to create the signature digitally in a signature maker that exports transparent PNG by default.
You don't need Photoshop or any paid software. Open a free online signature maker, draw or type your signature, and download as transparent PNG. The transparency is built in - you don't need to manually remove the background. The whole process takes about 60 seconds. If you already have a non-transparent signature image, you can also use a free online background remover like remove.bg to convert it to transparent, but creating fresh in a signature maker is usually faster and produces a cleaner result.
Yes. The free online signature maker works in any browser, including mobile browsers on iPhone and Android. Touchscreen drawing usually produces a more natural-looking signature than mouse drawing on desktop, so phones and tablets are actually the best devices for creating signatures. Open the signature maker on your phone, draw your signature with your finger or stylus, download the transparent PNG, then transfer to your computer via email or cloud storage.
Drawing gives a more personal, hand-signed look - it captures your actual handwriting style. Typing in a handwriting-style font produces a more consistent, polished look. For business documents where personal authenticity matters (signing personal letters, informal contracts), drawing is better. For consistent professional documents (invoices, formal letters, employment forms), typed signatures can look more uniform and clean. Both methods produce transparent PNG output.
Yes - that's exactly what transparent PNG is designed for. When you drop a transparent signature onto a colored background, a textured letterhead, or any non-white document, you see only the signature strokes. No white rectangle, no background color clash. This is the entire reason for using transparent PNG instead of JPG.
For everyday business documents - invoices, internal approvals, informal contracts between known parties - a signature image is widely accepted as a sign that you authorize the document. For high-stakes legal documents requiring cryptographic authentication (regulated contracts, court filings, property transactions, healthcare consent forms), use a regulated e-signature platform that complies with eIDAS, ESIGN Act, or your jurisdiction's electronic signature law. The image signature works for most everyday business uses; the regulated platform is needed for documents where legal authentication itself is the value.
Yes. Save the PNG file on your computer or cloud drive and reuse it on every document that needs your signature. Invoices, contracts, letters, forms - the same signature PNG works on all of them. You only need to create the signature once. Many people keep their transparent signature on their phone too, so they can sign documents on the go.
Medium. Too thin (1-2 pixels) and the signature becomes invisible at typical document display sizes. Too thick (10+ pixels) and the signature looks like a marker rather than a pen. A 3-5 pixel stroke at the default canvas size in the signature maker produces a signature that reads cleanly on screen and on print. If you're not sure, the default settings in the signature maker work for most cases.
Yes. The signature maker lets you pick the stroke color before downloading. Blue is the most common - it mimics ballpoint pen ink and reads as a real handwritten signature. Black is more formal and works on any document. Dark gray or dark brown can work for stylized branding contexts. Bright or pastel colors generally don't work for signatures because they don't read clearly on most documents.